Go. Go read my post about Really Good Steak . Almost all of it applies to cooking great steak indoors too. If you don’t read that post, don’t blame me if you don’t understand why surface moisture is terrible for a good steak, you couldn’t tell a Maillard reaction from a Mallard, and why to cook your steak slow and low, then hot and intense. This post is just to help out all of you deprived souls without access to some sort of live-fire cooking device.
Really Good Steak Indoors
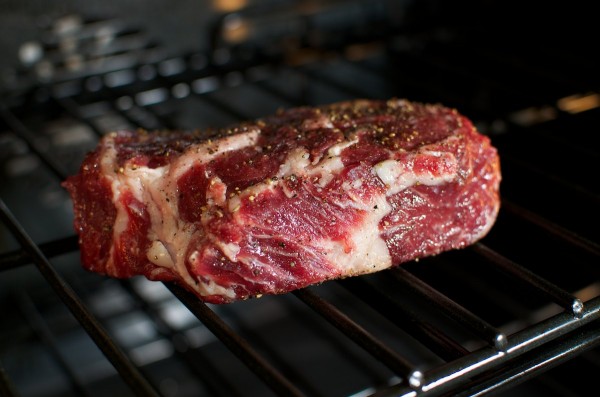
Unless you are starting with dry aged, take it out of the package, pat it dry, and then let it sit uncovered on a rack in the fridge for hours, or even a day before cooking. If you are starting with dry-aged steak, the surface should be pretty dry already. Take it out of the fridge a good hour before cooking, to let it warm a bit. Preheat your oven to 225. Right before you are ready to cook your steak, pat it dry again, rub it with a very light coating of olive oil, then liberally sprinkle course ground sea salt and pepper over it. You probably want more than you think. Put the steak on a rack and put a pan on the shelf below to catch drippings. It is crucial that air can circulate around all sides of your steak.
Depending on the thickness and starting temperature of the steak, cooking time could vary between 8-25 minutes (remember, the temperature is very low). When the internal temperature of the steak reaches 90 degrees, take it out of the oven, and tent it with foil, and let it rest for 5 minutes.
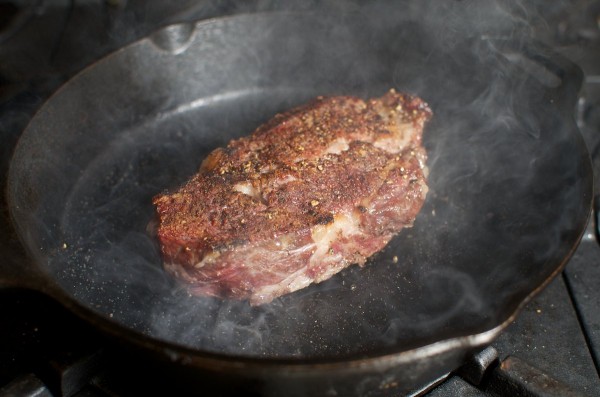
Meanwhile, preheat a cast iron pan until it is absolutely screaming, smoking hot. Not little wisps here and there. Real smoke. Your steak resting under the foil is doing lots of good things. It is getting more tender (due to enzyme activity), and the temperature is evening throughout, helping us get the edge-to-edge pinkness that we want. Pat your steaks dry one more time, then throw your steak into the blazing hot pan.
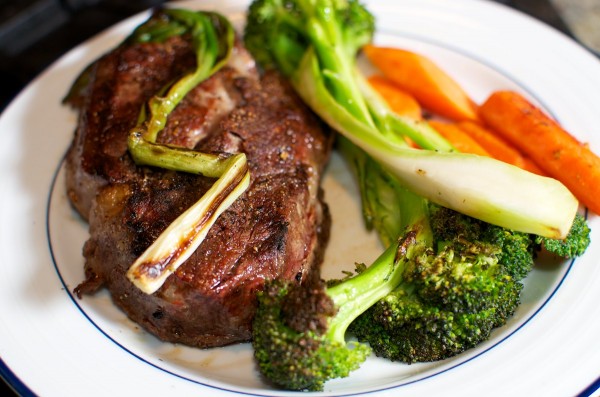
Cook it for about 60-90 seconds flip it, cook for another 60-90 seconds, then take it off! You are looking for a nice dark brown crust. A few black spots are OK, but not too much. Here is where your drying and patting, and low oven pays off. Instead of several minutes to form the crust, with a dry, prewarmed surface, the crust forms very quickly, and doesn’t overcook the meat beneath! If by some deficit of skill or equipment, your crust isn’t as lovely as mine in 90 seconds per side, take it off anyway. It won’t be awesome, but good crust on an overdone steak is worse than a flabby crust on a correctly cooked interior. Put it on a plate, tent it loosely with foil, and let it rest for at least 5 minutes, then serve!


5 Comments